
In the ever-evolving world of beauty, mastering the art of contouring can feel like unlocking a secret that transforms the ordinary into the extraordinary. Once reserved for the backstage realm of professional makeup artists, contouring has now stepped into the spotlight, promising to sculpt, define, and enhance the natural beauty of every face. This guide offers you a passport into the professional realm, sharing expert tips and techniques to elevate your contouring game. Whether you’re a novice exploring the basics or a beauty enthusiast seeking to refine your skills, these insights will illuminate your path to contouring like a pro, helping you create flawless, dimensional looks that celebrate your unique features.
Mastering the Art of Face Mapping
Unlocking the secrets of a perfectly contoured face begins with understanding your unique facial structure. Face mapping is a technique that professional makeup artists swear by to enhance natural features while adding depth and dimension. Start by identifying the key areas: the forehead, cheekbones, jawline, and nose. Each face is different, so what works for one person might not work for another. Knowing where to apply contour and highlight is crucial in creating a balanced look.
To make the most out of face mapping, consider these essential tips:
- Forehead: For a more pronounced forehead, apply contour along the hairline. If you wish to minimize it, focus the contouring on the sides.
- Cheekbones: Enhance these by applying contour just below the bone, blending upwards for a lifted appearance.
- Jawline: A sharper jawline can be achieved by contouring along the edge of the jaw, blending downwards into the neck.
- Nose: Slim your nose by applying contour along the sides and highlight down the bridge.
Remember, the key to mastering face mapping is blending. Use brushes or beauty blenders for a seamless finish, ensuring that the makeup looks natural and polished.


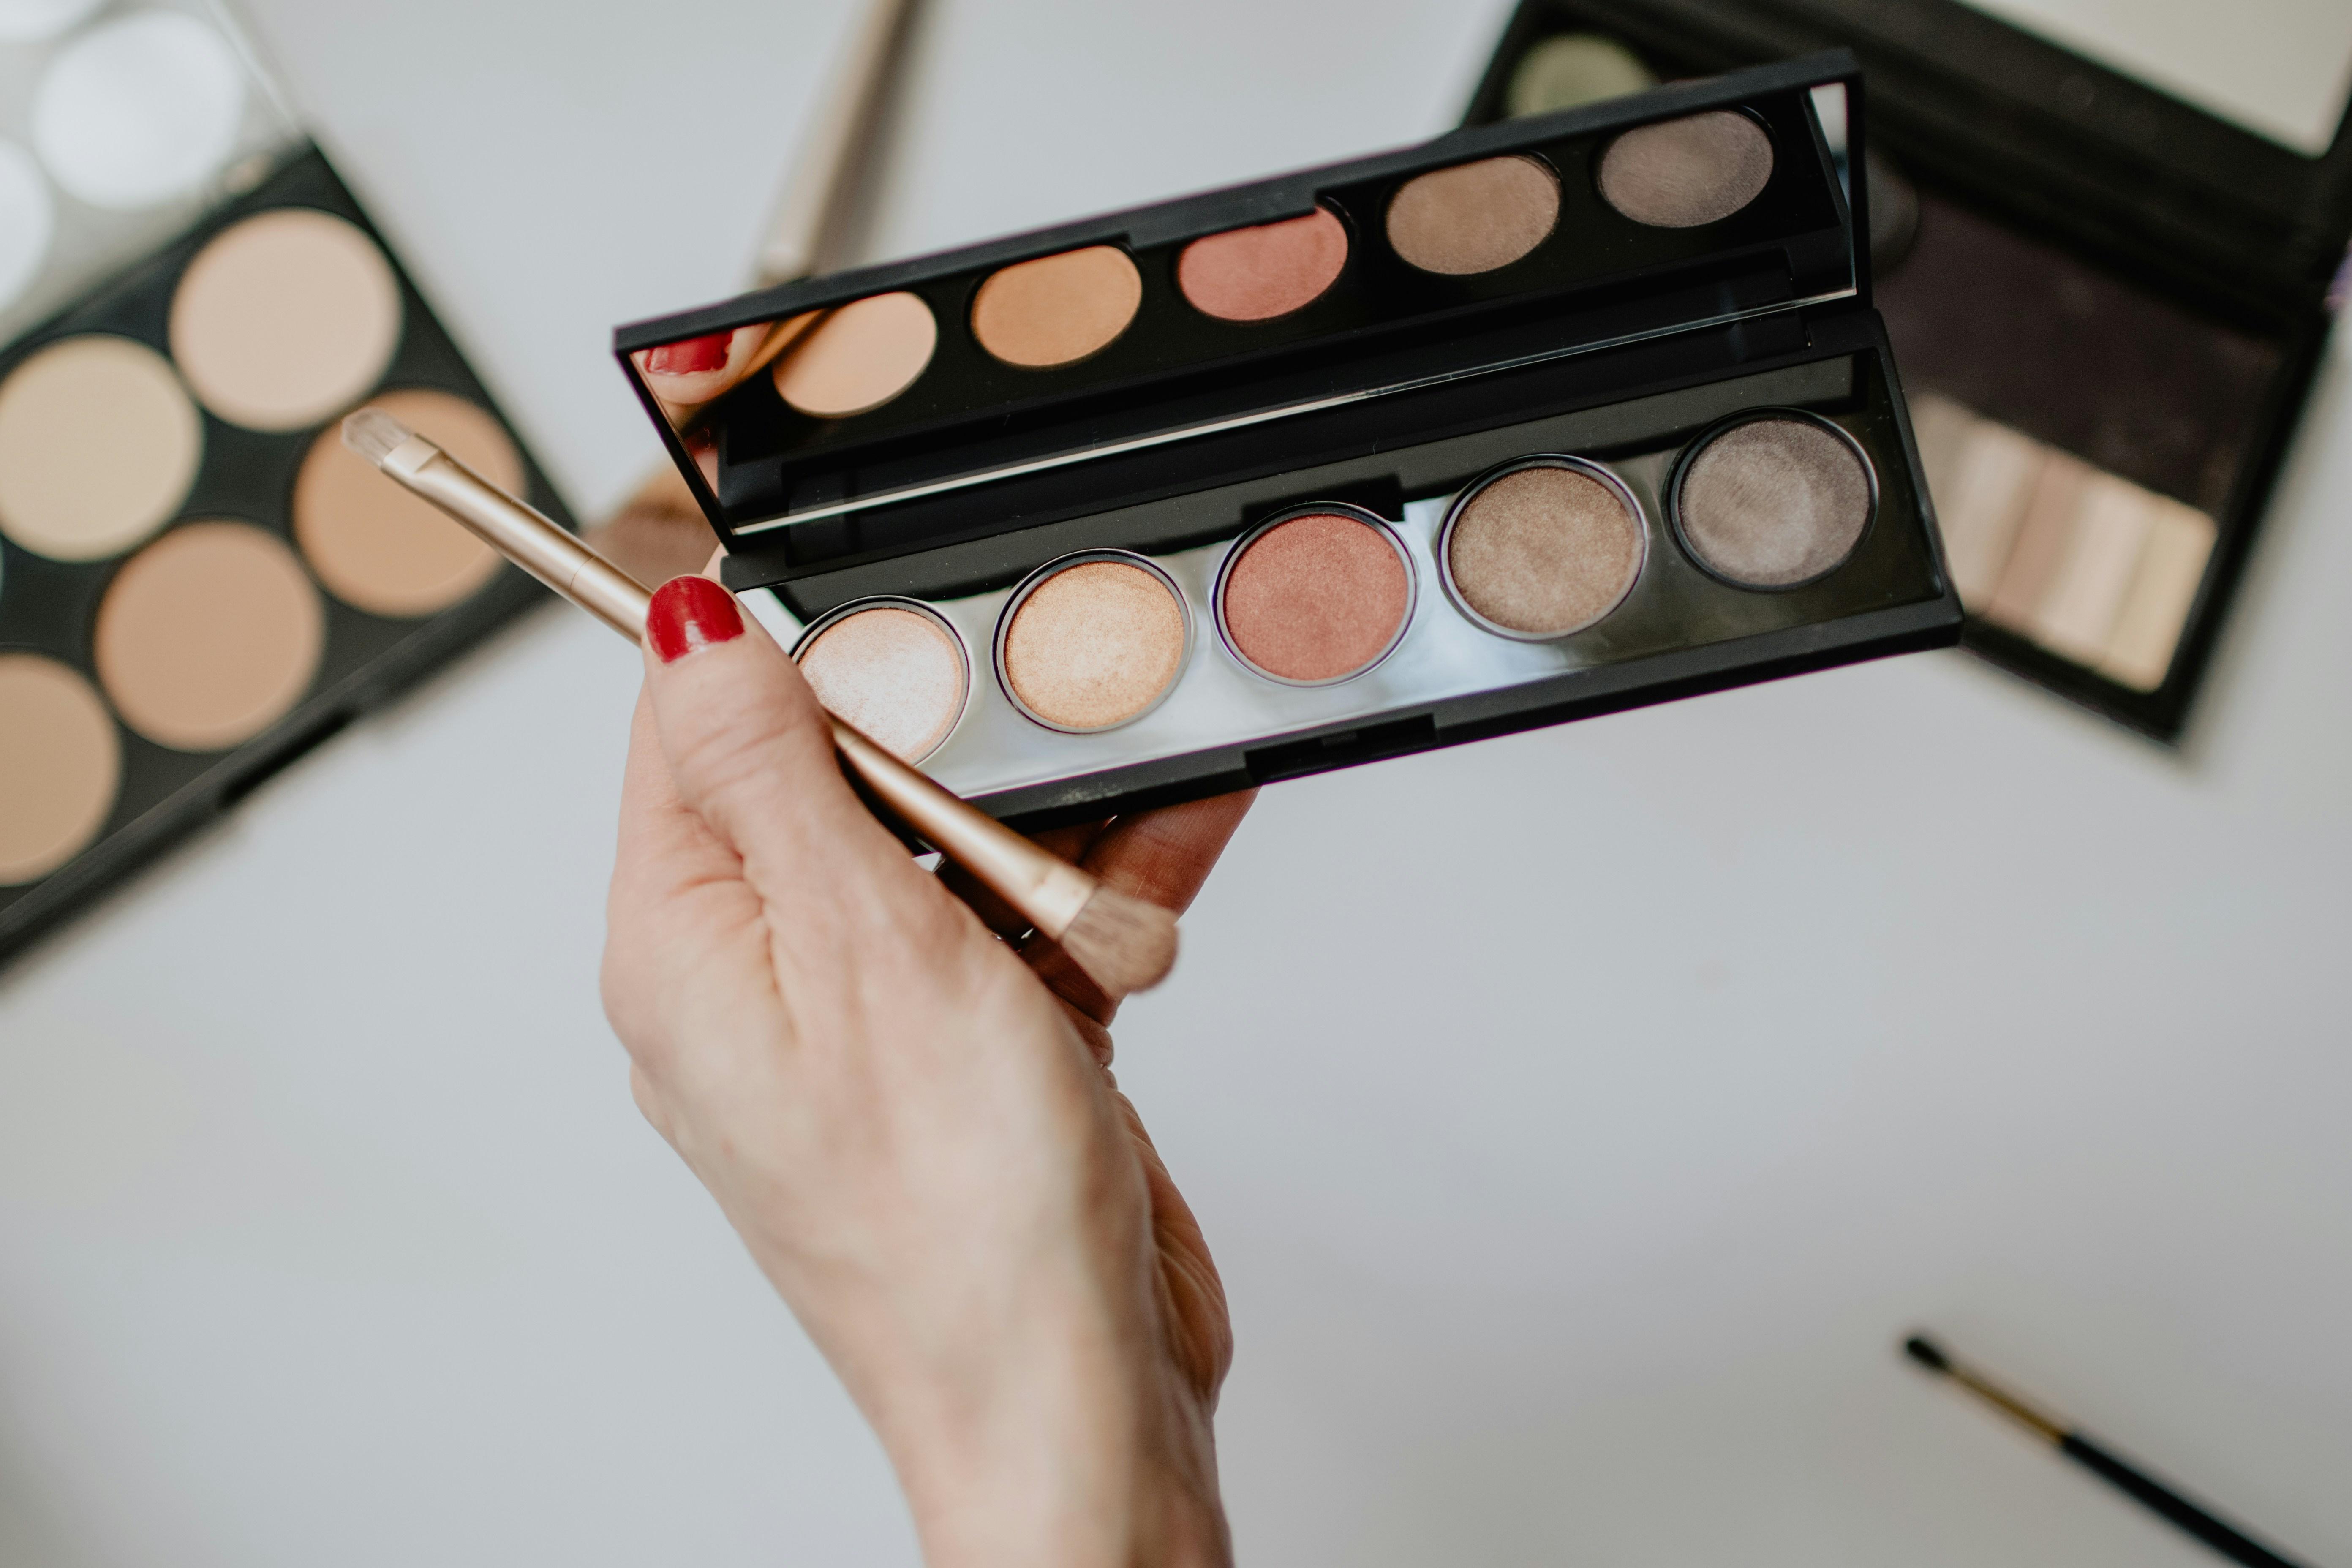
Choosing the Perfect Contour Shades
To achieve a seamless contour, selecting the right shades is crucial. Understanding your skin’s undertone is the first step in this journey. If your skin has warm undertones, opt for shades with hints of gold or bronze. For cool undertones, choose contour products that lean towards taupe or gray. Neutral undertones can experiment with a mix of both, finding a balance that enhances natural features.
- Fair Skin: Go for light taupe or soft beige tones to create a natural shadow without appearing too harsh.
- Medium Skin: Opt for warm, golden browns that complement your skin’s natural warmth.
- Dark Skin: Deep chocolates or rich espresso shades work beautifully to define and enhance.
Experimenting with different formulations can also make a difference. Cream contours offer a dewy finish, perfect for those seeking a more natural look, while powder contours provide a matte finish and are ideal for oily skin types. Blending these products seamlessly into your foundation ensures a professional, polished result.
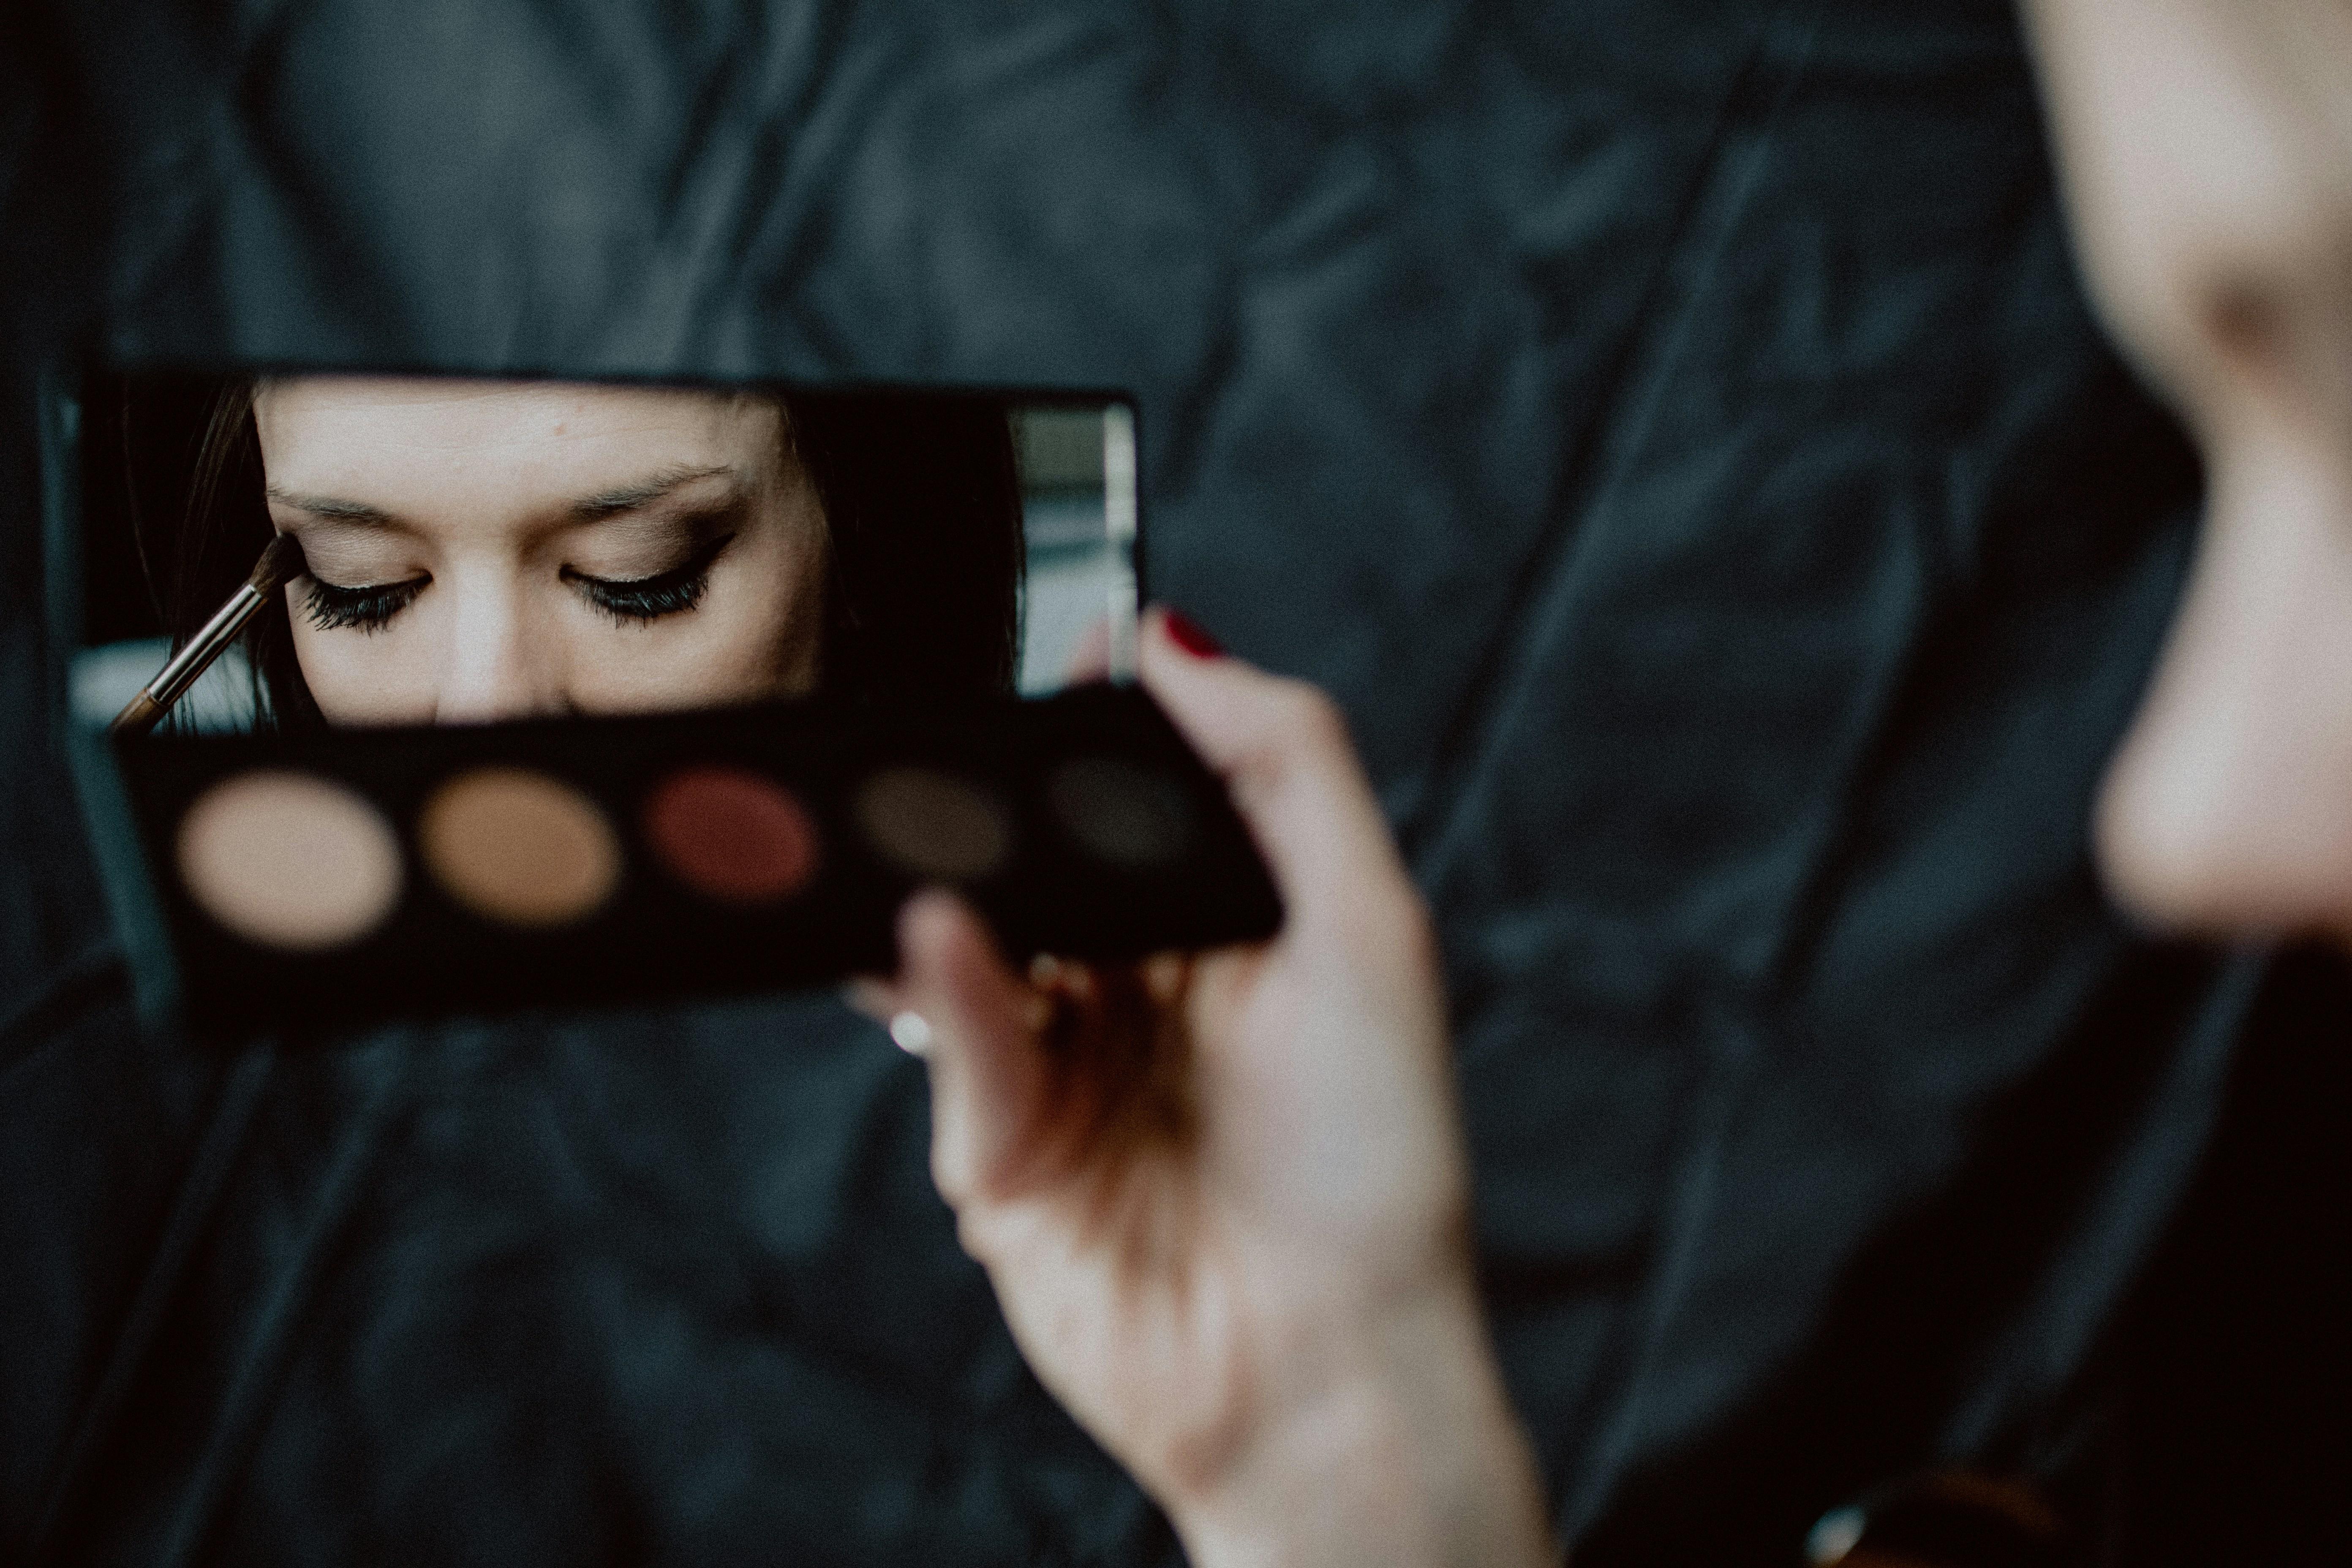
Blending Techniques for a Seamless Finish
Achieving a flawless contour requires mastering the art of blending. Start by selecting the right tools: a dense brush or a damp beauty sponge are both excellent choices. Use a stippling motion to seamlessly merge your contour lines into your foundation, creating a natural transition. Avoid harsh lines by gradually building up the product, blending as you go, to maintain control over the intensity and placement.
- Layer Wisely: Apply thin layers of contour product and blend each one thoroughly before adding more.
- Use Light Pressure: Gentle pressure helps prevent moving the base makeup, ensuring a smooth finish.
- Set with Translucent Powder: After blending, a light dusting of powder can help lock everything in place.
Remember, the key is patience. Take your time to blend each section, and step back occasionally to assess your progress. With practice, you’ll achieve a beautifully sculpted look that rivals that of any professional makeup artist.
Highlighting Essentials to Complement Contours
Once you’ve expertly sculpted your face with contours, the next step is to enhance those angles with highlights. This technique brings light to the high points of your face, creating a radiant, three-dimensional effect that complements the shadows you’ve already defined. To achieve this, consider these essential tips:
- Choose the Right Formula: Depending on your skin type, select between powder, cream, or liquid highlighters. Oily skin types might prefer powders for a matte finish, while dry skin can benefit from the dewy glow of creams or liquids.
- Focus on Strategic Areas: Apply highlighter to the tops of your cheekbones, the bridge of your nose, the cupid’s bow, and the brow bones. This not only emphasizes your natural bone structure but also brings an ethereal glow to your overall look.
- Blend Seamlessly: Use a damp beauty sponge or a fluffy brush to blend the highlighter seamlessly into your foundation. This ensures there are no harsh lines and the highlight appears as a natural glow.
- Layer for Intensity: For a more pronounced effect, layer your highlighter. Start with a subtle application and build up the intensity as needed. This allows you to customize the level of glow according to the occasion.
Remember, the key to a professional finish is balance. Let your highlights enhance the contours rather than overpower them, creating a harmonious and sophisticated look.
The Way Forward
As you embark on your contouring journey, armed with these professional tips, remember that makeup is as much about experimentation as it is about technique. Each brushstroke is an opportunity to sculpt and define, to highlight and enhance, bringing forth the unique beauty that is yours alone. Whether you’re crafting a subtle glow for the everyday or a bold look for a night out, the power of contouring lies in its ability to transform and elevate. So, gather your tools, channel your inner artist, and let your face become the canvas for your creativity. With practice and patience, you’ll find that the art of contouring is not just a skill but a celebration of individuality. Happy contouring!
